


From Power BI Desktop to Web: Publish Your Reports with These Easy Steps
A Comprehensive Guide to Publishing Power BI Reports and Embedding Them in Websites.


Introduction
Data analysis and visualization tools are being widely used in today's data-driven world. Microsoft's PowerBI is one such tool that organizations are leveraging to create interactive reports and dashboards, thus transforming data into meaningful insights. However, creating a report is just one part of the process. Making the report accessible to everyone is another key step.
This article provides a step-by-step guide on how to publish your report on PowerBI Service from PowerBI Desktop and embed it into a website.
Creating a Report in PowerBI Desktop
The first key step is having the report ready on the PowerBI Desktop. In this case, we will use a sample report I created on PowerBI Desktop.

Publishing the Report on PowerBI Web
The first step is signing up for PowerBI Web. Note that you have to use an organizational email to sign up for PowerBI Web. If you do not have an organizational or student email, you can get one from Microsoft 365 Developer Program.
After signing up for PowerBI Web, you can create a workspace to which you will publish your reports or use the default workspace available. After signing in, the PowerBI Desktop should indicate that you have already signed in as shown below:

Heading back to our report on PowerBI Desktop, we are now ready to publish our report. To do this, we click the publish button on the home page as shown below:

PowerBI will prompt you to save any unsaved changes. Afterwards, you will be asked to select the workspace on which to publish your report.
Here, I will publish my report to the default 'My workspace*'.*

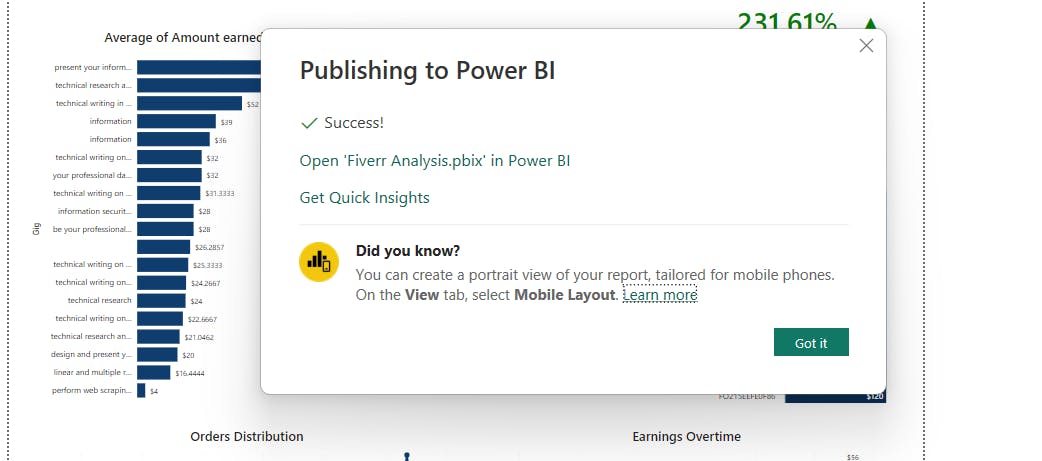
PowerBI will publish the report and ask you to view the report on PowerBI Web including getting quick insights.
Note
In case you had published it earlier, you can overwrite the version based on the changes you have done.
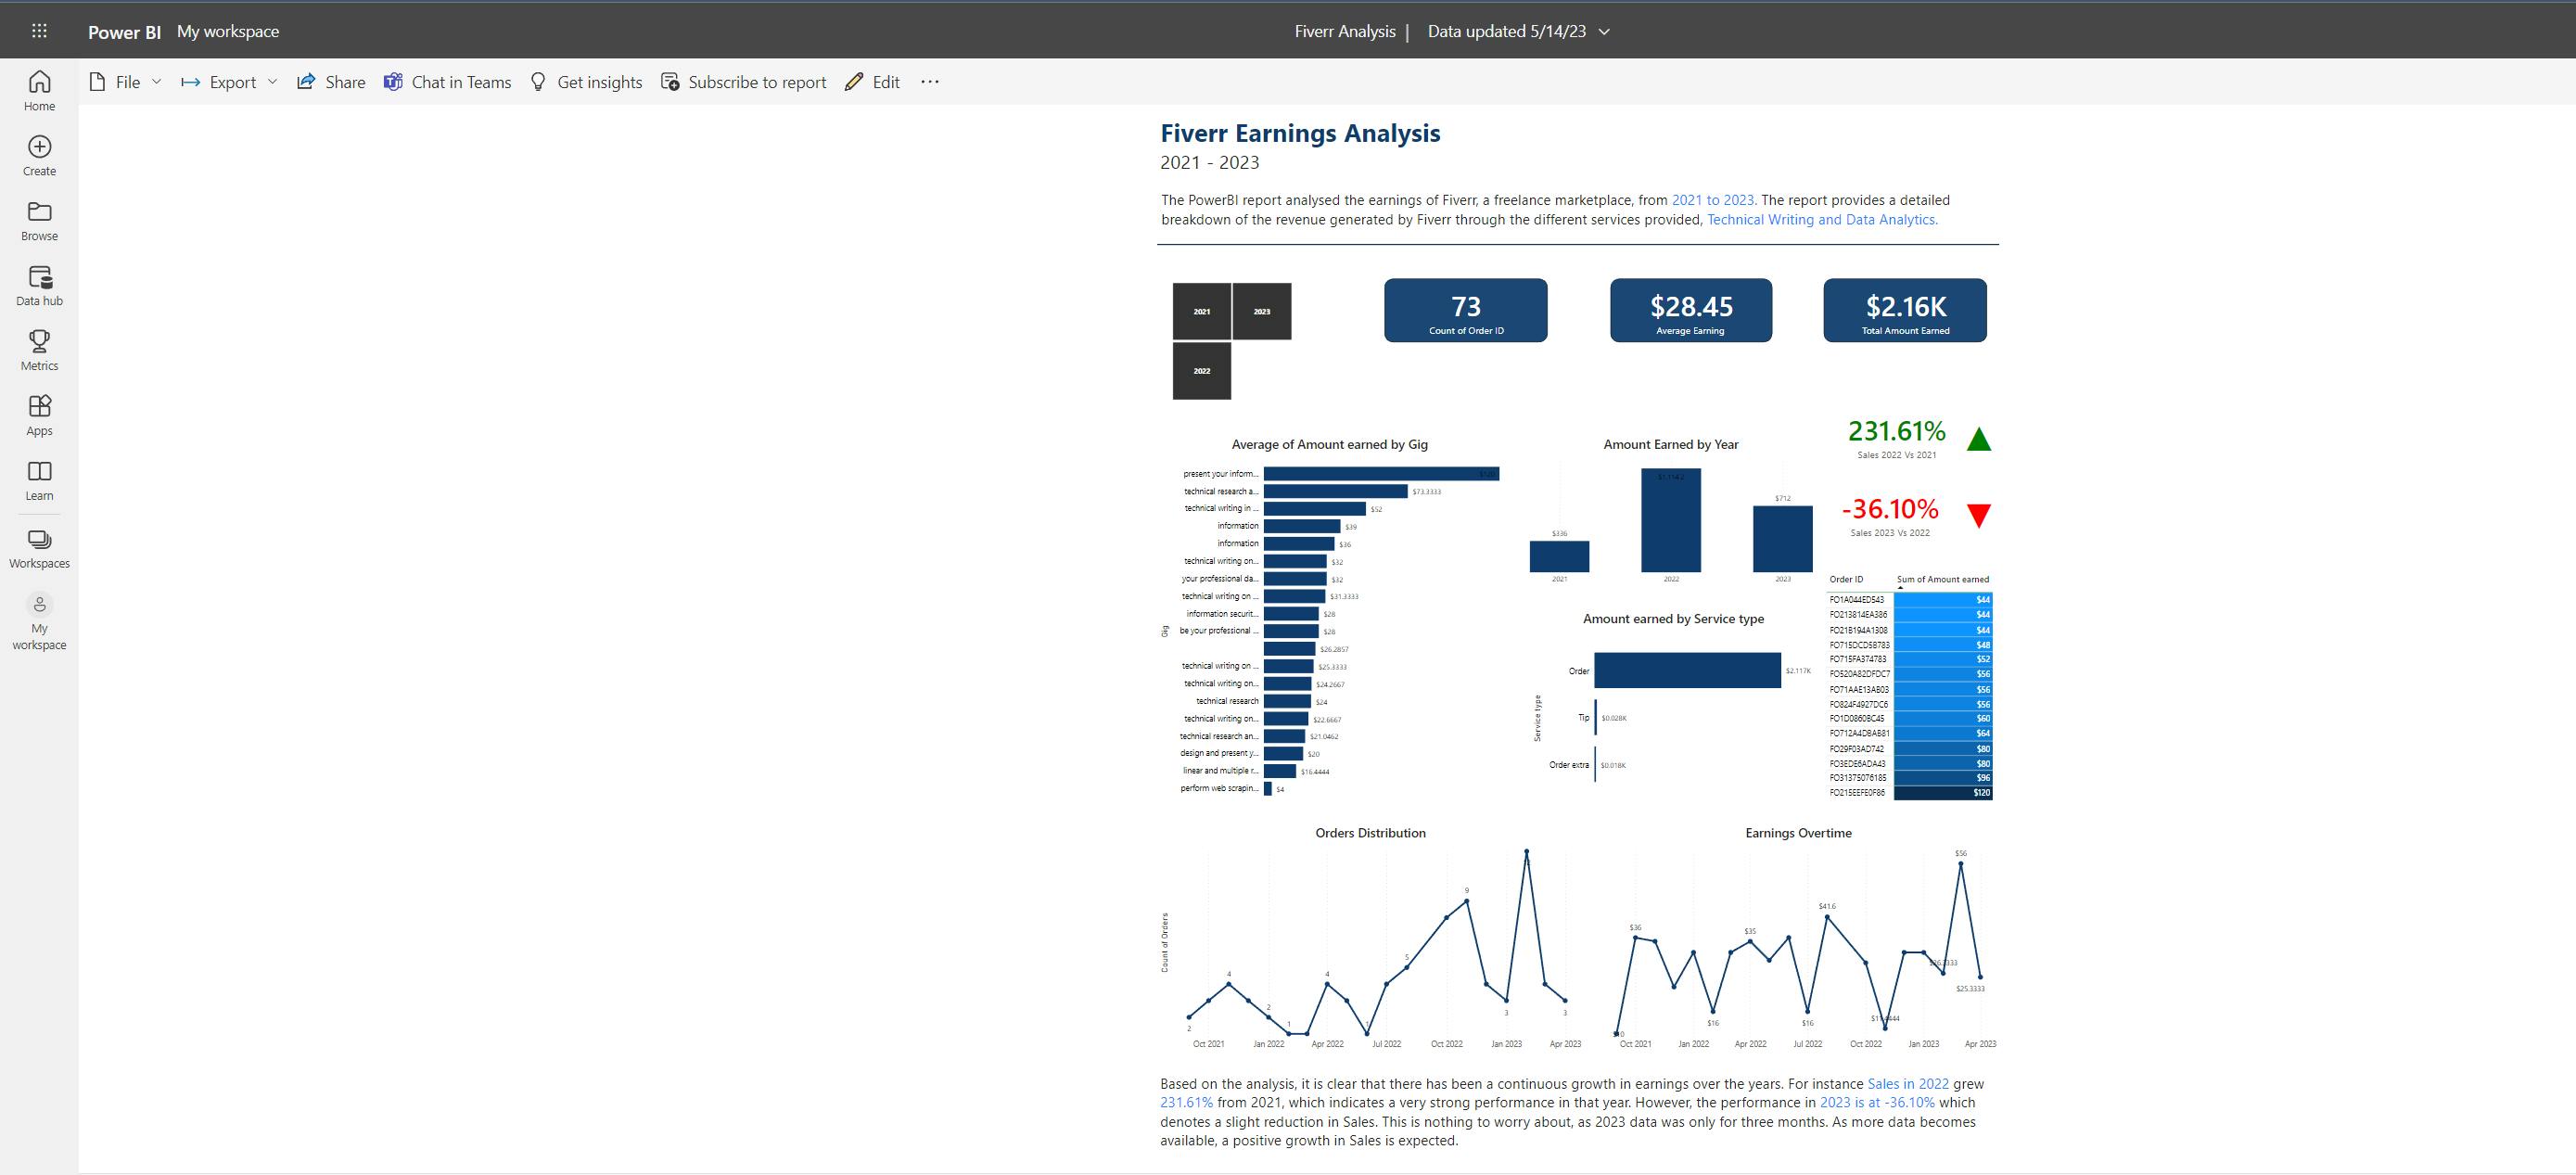
Our report is finally published as seen below:
Embedding the Report to a Website
Power BI provides a feature that allows us to easily embed Power BI reports into any website. This allows any user to easily view the report and interact with it.
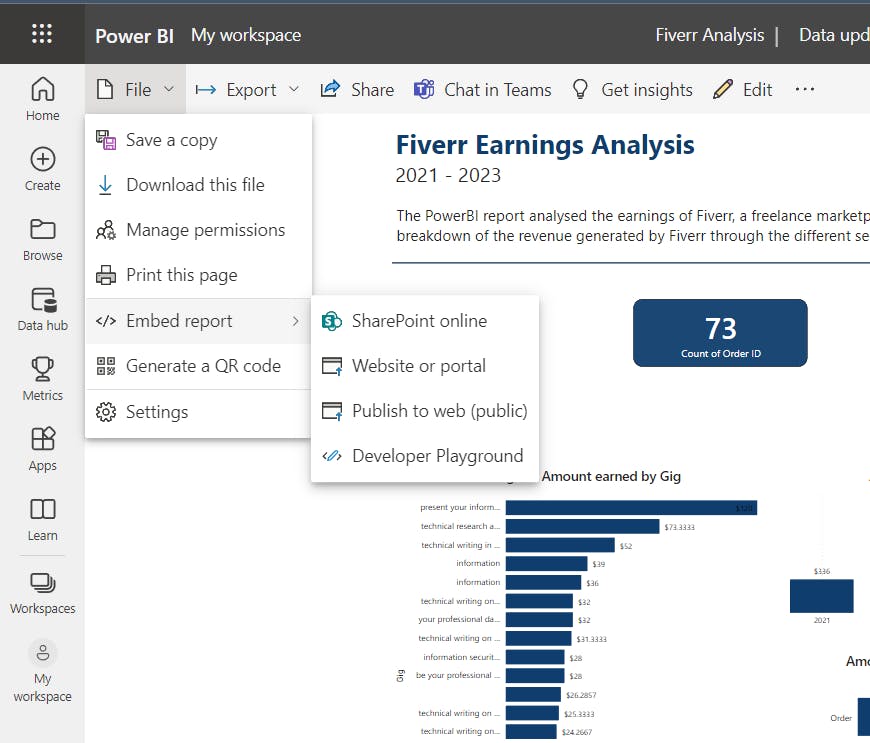
The first step we do is click on the file option > Embed report > Publish to web (public) as shown below.
Note
You need to be on the report page.
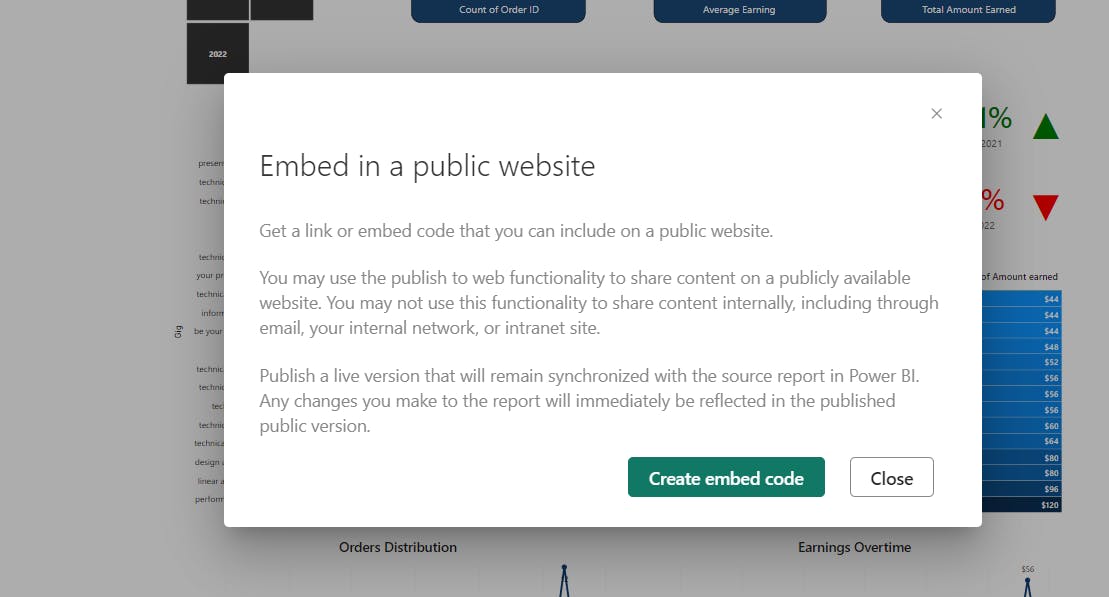
Power BI prompts you to create an embedded code that would allow you to include the report on a publicly available website.
PowerBI then proceeds to provide a code and a preview of the report on the website.
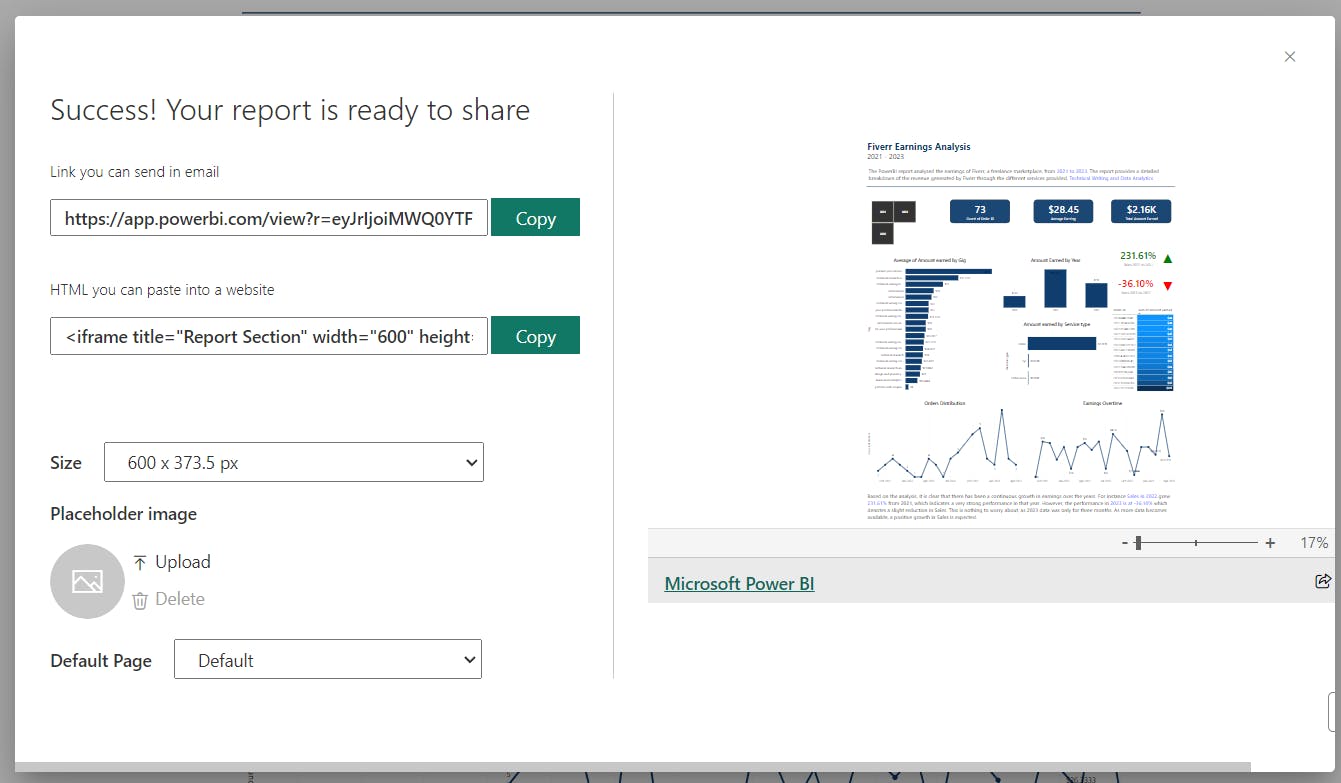
The code appears as shown below:
<iframe title="Report Section" width="600" height="373.5" src="https://app.powerbi.com/view?r=eyJrIjoiMWQ0YTFlN2QtNWJiYS00ZTEyLTgxYjItYmU3OWE4MmEzZDMzIiwidCI6IjIyZmE4OTE0LTc0OGQtNDkyYy1iMjk5LWFiMzIyNDAyNzcyNSIsImMiOjh9" frameborder="0" allowFullScreen="true">
</iframe>
This step requires some coding skills to effectively display it on a website. This is how I embedded my report.
<div className="portfolio__content grid port">
    <div className="powerbi-report">
     <iframe
      title="Report Section"
      width="500"
      height="373.5"
      src="https://app.powerbi.com/view?r=eyJrIjoiZDA3ZjgyNmUtZjA5Mi00MzRjLThkNTYtZWU0MjJkOWEyNzllIiwidCI6IjIyZmE4OTE0LTc0OGQtNDkyYy1iMjk5LWFiMzIyNDAyNzcyNSIsImMiOjh9" frameborder="0"
allowFullScreen="true">
    </iframe>
   </div>
</div>
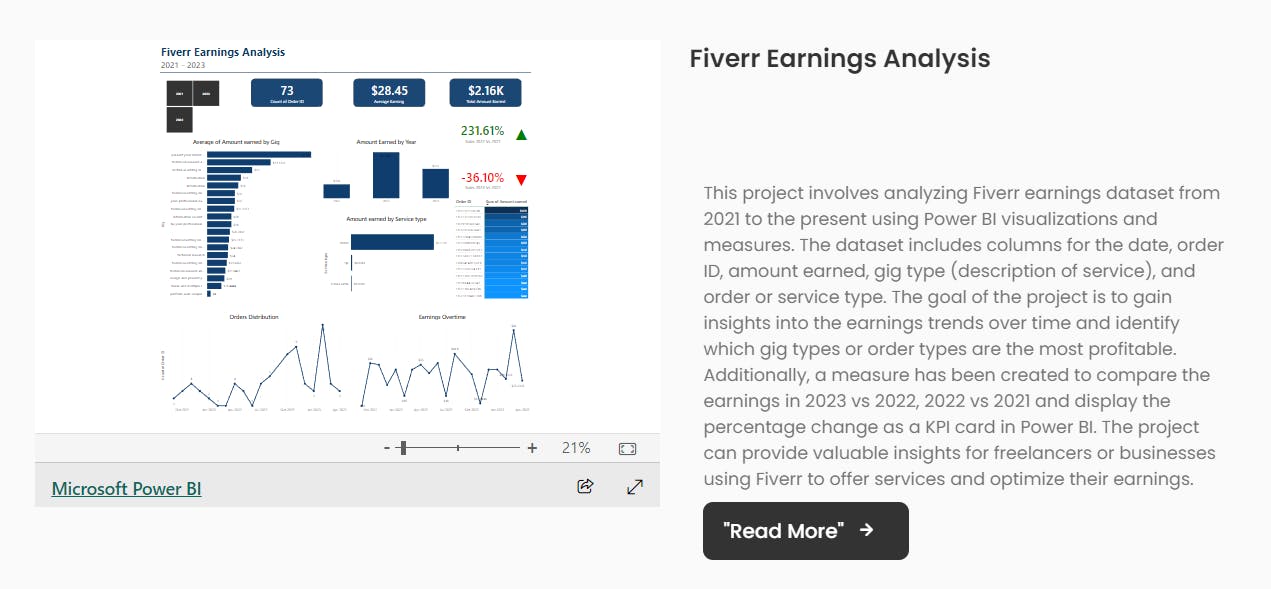
The output is as shown below with the option of adding some additional content:
No option to embed the Report?
At times publishing the report would not be as direct as described above in case you are doing it for the first time. The solution to it is usually that you have to give permissions at the Admin centre.
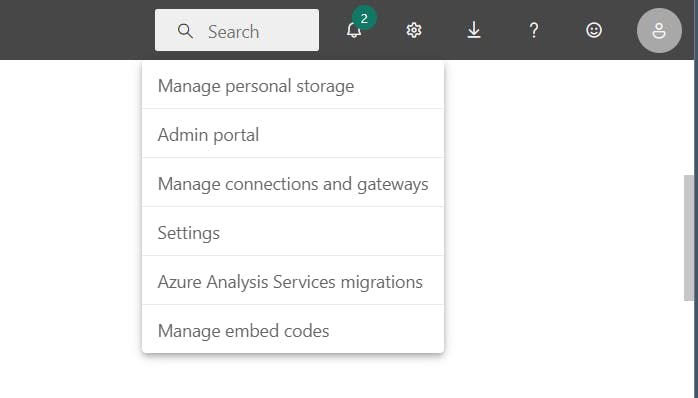
First, access the settings option on the right side of the platform next to the notification centre and choose Admin Portal.
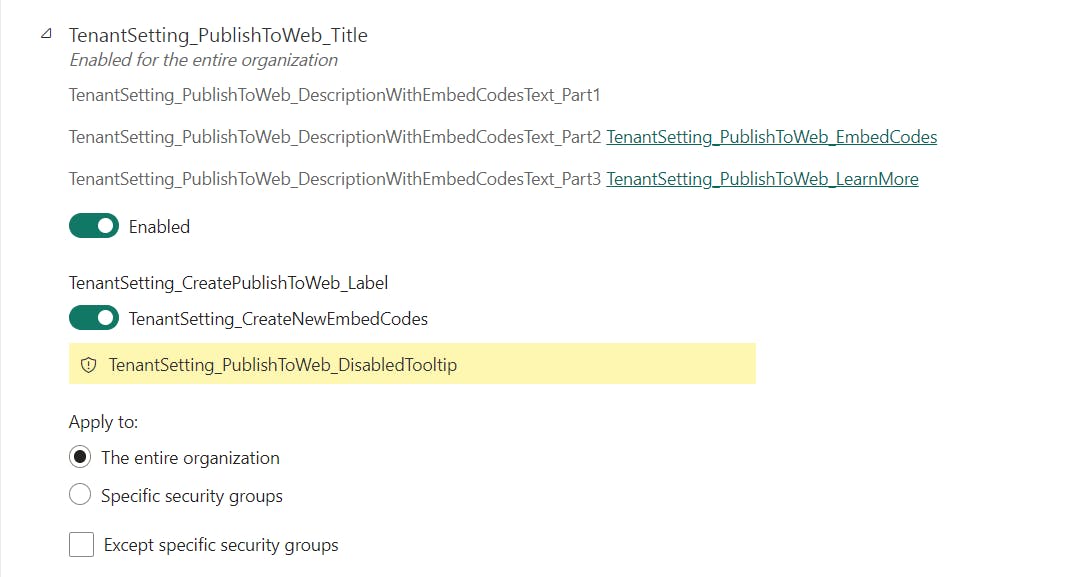
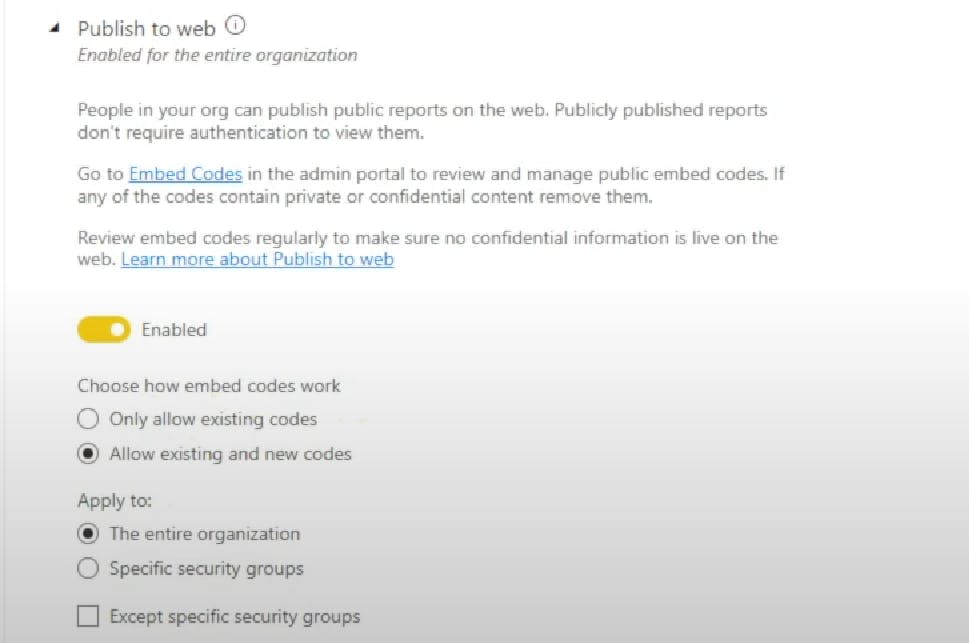
On the Admin Portal, click on Tenant Settings and scroll down to the Publish to web option.
Do the following changes and steps:
Leave the Enabled option as it is.
Change how embed codes work to Allow existing and new codes
Apply the changes to the entire organization.
Click on apply.
This may look different based on the type of account you are using on PowerBI.
With this done, you are ready to create an embedded code to publish your report to the web.
Note
Conclusion
This report provides a comprehensive guide on how to publish a report created in Microsoft's PowerBI Desktop to the PowerBI Web service and embed it into a website. The report outlines the step-by-step process, starting with signing up for PowerBI Web and creating a workspace, followed by publishing the report from PowerBI Desktop to the desired workspace. The report also explains how to generate an embedded code for the report and provides an example of the code. It further discusses potential issues with embedding reports and offers a solution by adjusting the settings in the Admin Portal.